How to Restore HEIC Image Support in Ubuntu 26.04 LTS: A Step-by-Step Guide
Introduction
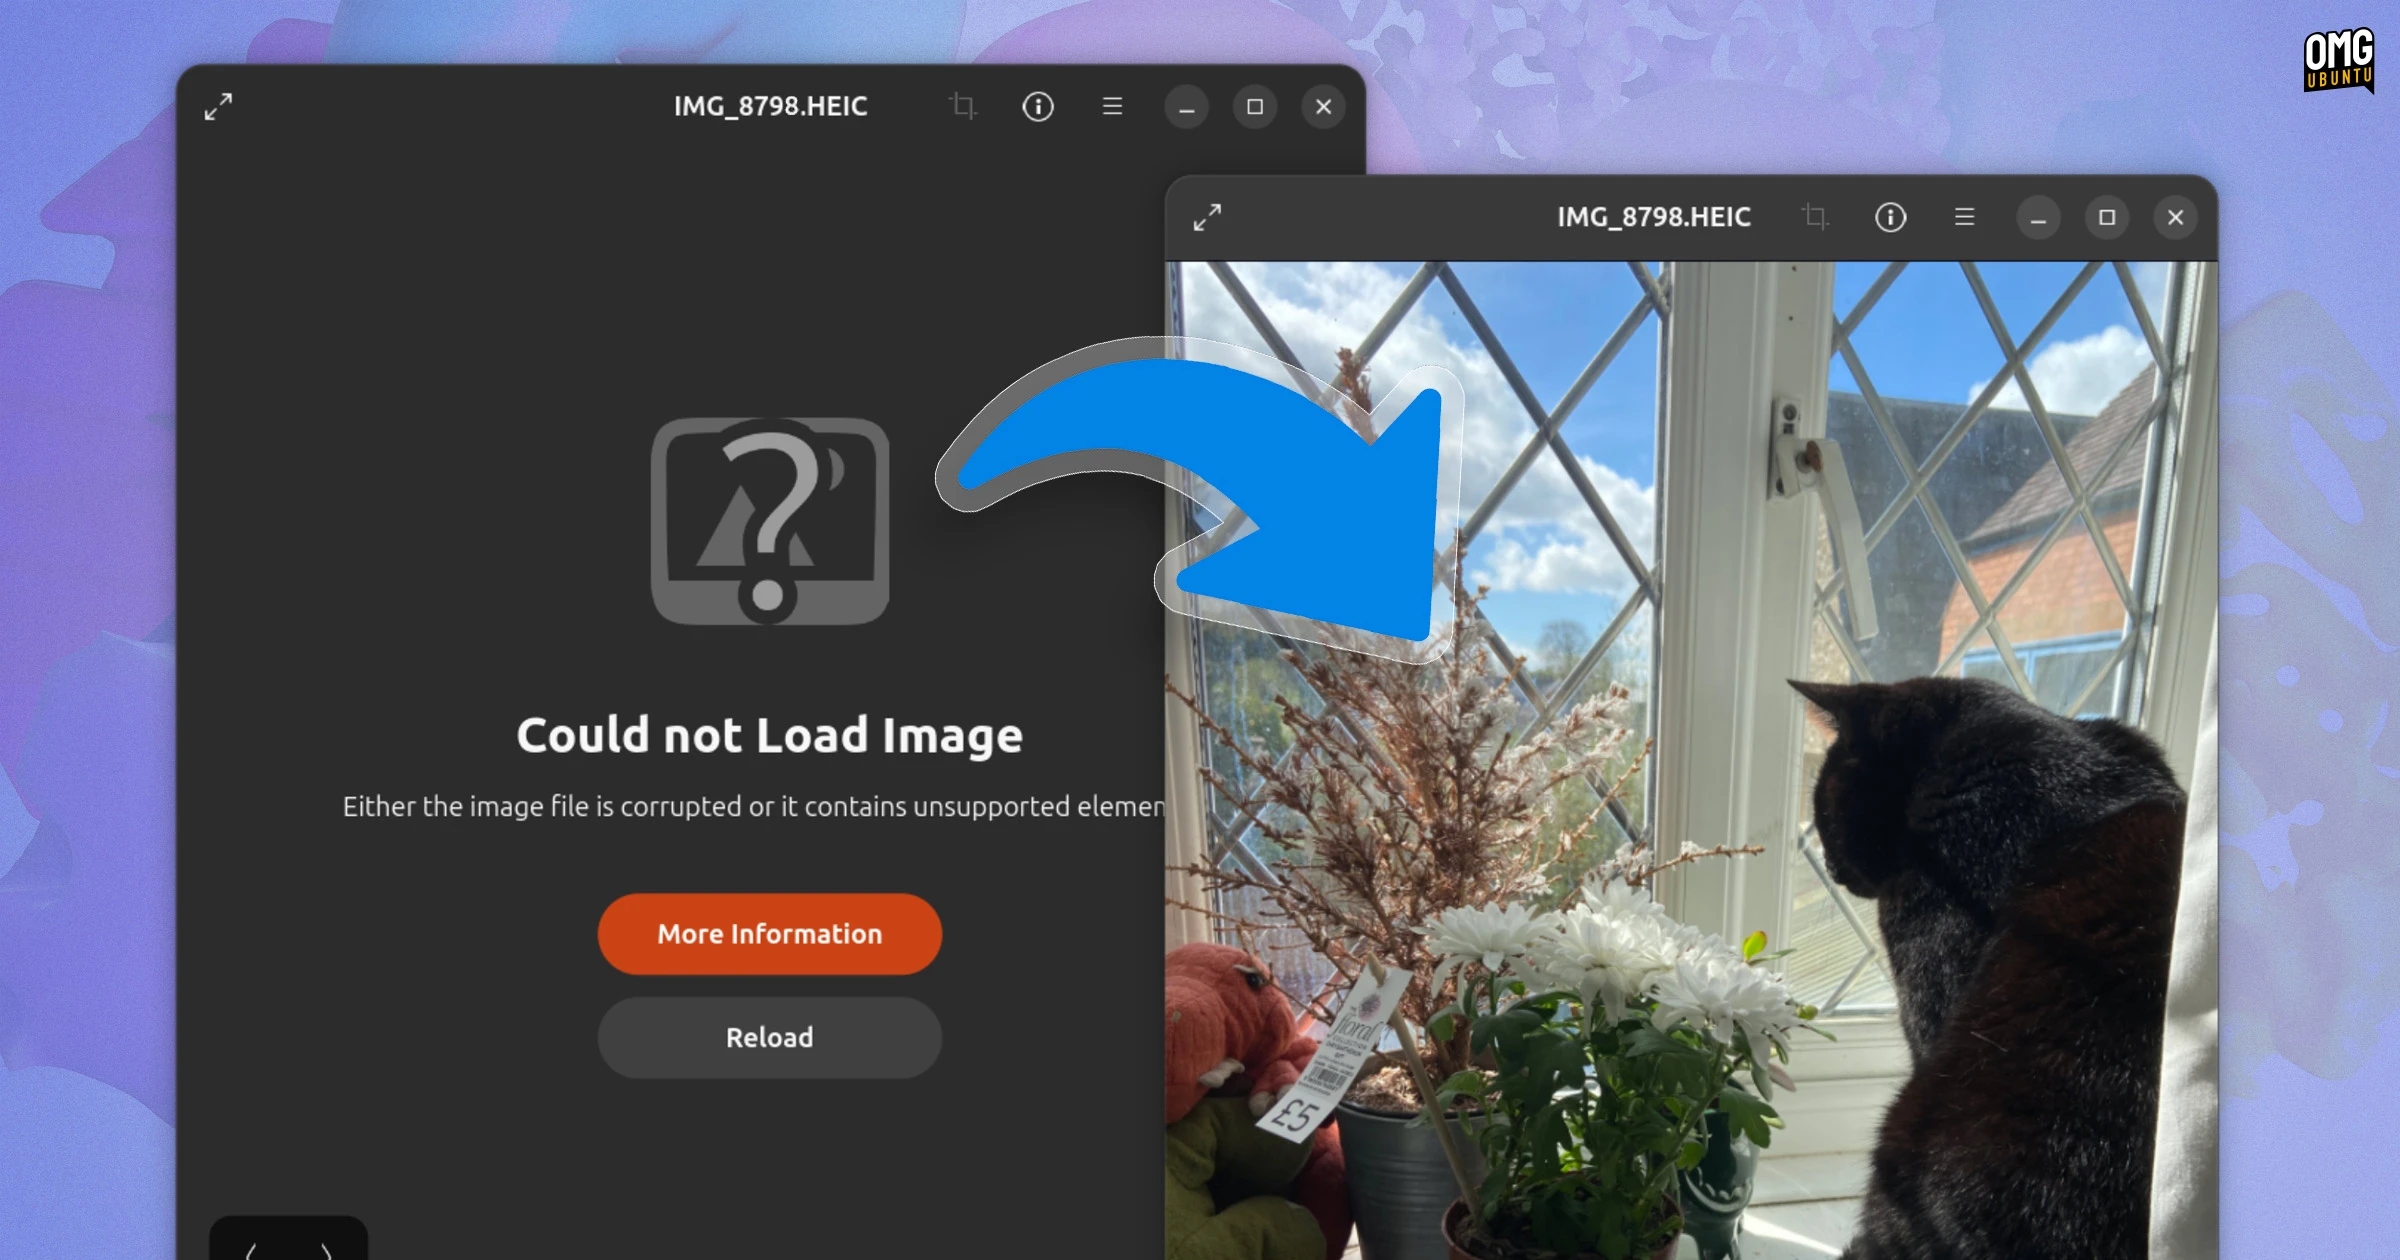
If you've recently upgraded to Ubuntu 26.04 LTS and found that your iPhone or Android photos saved in HEIC format refuse to open in the default Image Viewer, you're not alone. The error message "Could not load image" is not a bug—it's an intentional change by Ubuntu to remove the preinstalled HEIC decoder library. HEIC (High Efficiency Image Container) uses the H.265/HEVC compression standard, which is widely used by modern smartphones to save space. While this change improves system security and reduces licensing headaches, it leaves users without a straightforward way to view their own photos. Fortunately, restoring HEIC support is a quick process that takes only a few minutes. This guide walks you through the exact steps to install the necessary decoder and get your images displaying correctly again.

What You Need
- A computer running Ubuntu 26.04 LTS (any variant with a desktop environment)
- A stable internet connection (the packages are downloaded from Ubuntu's repositories)
- sudo privileges (your user account password) to install software
- Access to a terminal (Ctrl+Alt+T or via the applications menu)
- (Optional) Your smartphone connected to the computer to test HEIC files
Step-by-Step Instructions
Step 1: Open a Terminal Window
The installation requires command-line access. Launch the terminal by pressing Ctrl+Alt+T simultaneously, or by searching for "Terminal" in the applications menu. A black or purple window will appear where you'll type commands.
Step 2: Update the Package List
Before installing any new software, it's best to refresh the list of available packages from Ubuntu's repositories. This ensures you get the latest version of the HEIC decoder. Type the following command and then press Enter:
sudo apt updateYou'll be prompted for your password. Type it (you won't see any characters as you type) and press Enter. The terminal will fetch updated package information; this usually takes 20–30 seconds.
Step 3: Install HEIC/HEIF Support Packages
The core library that enables HEIC decoding is libheif, along with its graphical integration for GNOME's image viewer. Install both by running:
sudo apt install libheif-progs heif-gdk-pixbuf heif-thumbnailer- libheif-progs – provides command-line tools for converting HEIC/HEIF files
- heif-gdk-pixbuf – allows GdkPixbuf (used by many image viewers) to read HEIC images
- heif-thumbnailer – enables file manager (Nautilus) to show thumbnails for HEIC files
If you prefer a minimal install, heif-gdk-pixbuf alone may suffice for viewing, but the other two improve the overall experience. Approve the installation by typing Y when prompted, then wait for the packages to download and install (usually under a minute).
Step 4: Verify the Installation
Once the packages are installed, test that the decoder works. Locate a HEIC file (for example, on your connected smartphone or a downloaded test image). Right-click the file in Nautilus and select Open With Image Viewer. Alternatively, double-click it. If the image now displays correctly, you're all set. If you still see the error, try restarting the image viewer or logging out and back in.
Step 5: (Optional) Restart File Manager to See Thumbnails
If you installed heif-thumbnailer, thumbnails for HEIC files should appear automatically in Nautilus after a few seconds. To force an immediate refresh, press Ctrl+F5 or close and reopen the file manager window. For a full flush, you can restart Nautilus:
nautilus -qThen reopen Nautilus from the applications menu.
Tips and Troubleshooting
- If the issue persists after installation, double-check that your HEIC files are not corrupted. You can test by copying the file to a different directory or trying another viewer like GIMP (after installing it). Also, ensure your system has full updates:
sudo apt upgrade. - Alternative image viewers that support HEIC natively include gThumb and XnView MP. They can be installed via
sudo apt install gthumbor by downloading from their websites. - Converting HEIC to JPEG for compatibility with older applications: use the command
heif-convert input.heic output.jpg(provided by libheif-progs). This allows you to batch-convert all your photos. - Keep an eye on updates because Ubuntu might eventually include a different HEIC decoder (e.g., libheif from a PPA or Flatpak). Avoid installing unofficial packages unless necessary.
- If you prefer not to use the command line, you can install these packages via the Ubuntu Software Center by searching for "heif"—but locating the exact names is easier via terminal.
- Remember to reapply after major system updates—Ubuntu point releases (e.g., 26.04.1) sometimes reset package selections. If the problem returns, simply rerun the install command.
With these steps completed, your Ubuntu 26.04 LTS system will once again display HEIC images without any errors. This quick fix restores full functionality while keeping your system lean and secure.
Related Articles
- Mastering the Shift: How to Migrate Your Flutter Project from CocoaPods to Swift Package Manager
- 10 Game-Changing Facts About Adidas' Record-Breaking 97-Gram Supershoe
- 5 Essential Samsung Messages Features Google Messages Has Yet to Match
- KEROGEN Emerges as Deep-Sea Horror Game Rivaling SOMA, BioShock
- 8 Key Insights into Apple’s AI App Store Strategy
- Flutter Embraces Swift Package Manager as Default for iOS and macOS
- Building VR Apps with React Native: A Guide to Meta Quest Development
- Building VR Apps with React Native on Meta Quest: Your Questions Answered